Users and Groups
Users
There are two regular user roles, client and creator.
Clients can:
Log in and view a list of available channels. If only one channel is available to the client, they will go straight there and bypass the home screen.
View live streams, channel names and notes.
Upload and download files
Participate in live chat
You can also configure Streamwell so clients see a simplified view of just the stream, channel name and notes, the same way Public Links look. You can change this under Administration-> Customization -> Preferences -> Simplified View For Clients.
Creators can do the above plus:
See live stream stats including number of viewers, data in/out and more.
View the creation date for each channel
Copy or reset the input Stream URLs
Copy or reset the Public Link and embed code
Record and playback live streams
Manage recorded and uploaded files, plus public permissions
Clear the chat history
(optionally) be "promoted" to a limited Admin role
Use the + and - buttons to add and delete clients and creators, or click on a user to edit it:
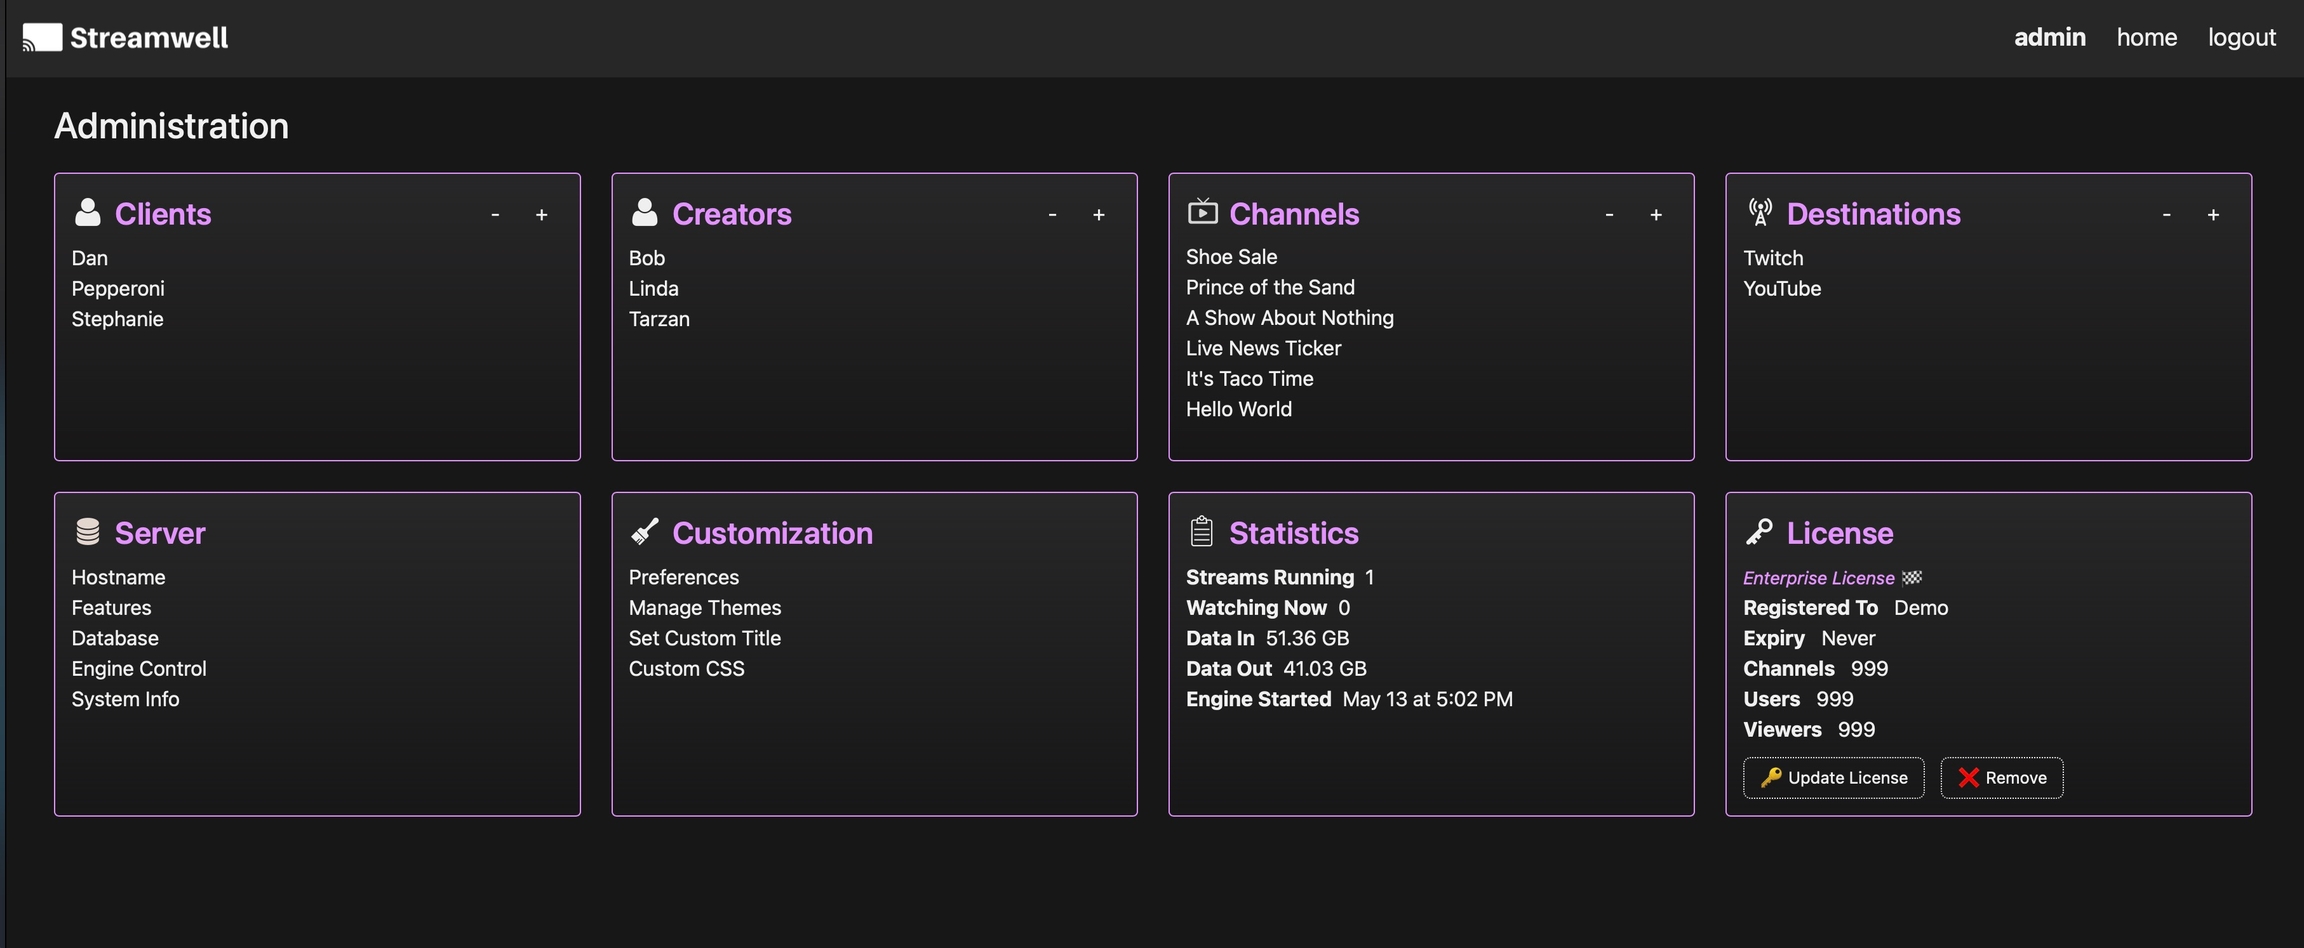
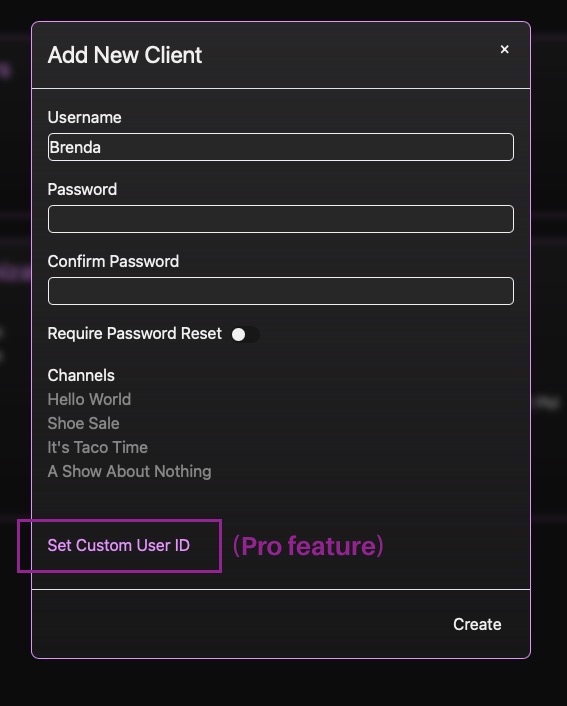
You can change the password of any user account when editing the user in the administration section, or when logged in as that user, by clicking the username at the top right of the screen.
Admin(s)
There is one top-level admin account for administration of users, channels and other server settings. Streamwell also lets you "promote" creator accounts to admins, granting them most of the day-to-day admin privileges required to manage users, channels and themes. Admins can also require users to reset their password on the next login.
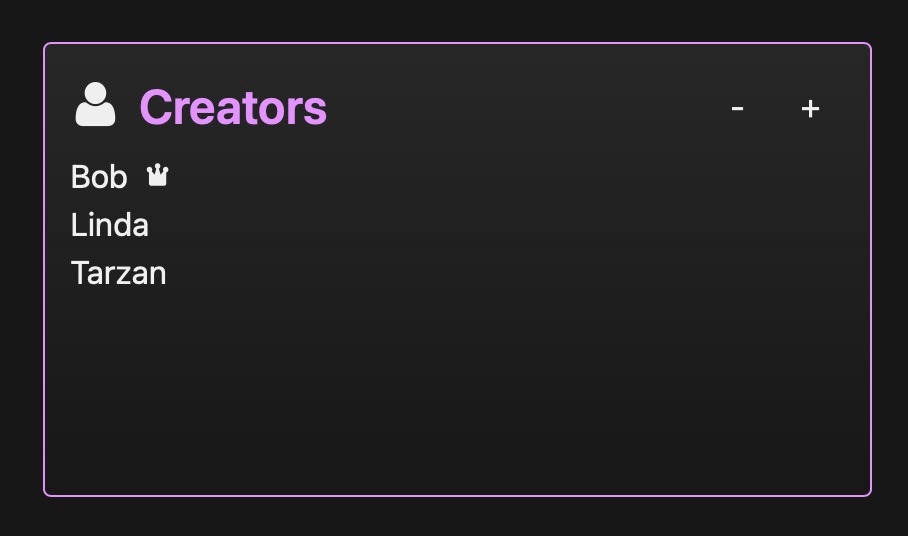
A crown icon will appear next to any creators with admin privileges:
Certain functionality is restricted to the top-level admin account only. Specifically:
Server -> Hostname
Server -> Features
Server -> Database
Server -> Engine Control
License -> Update or Remove
Groups
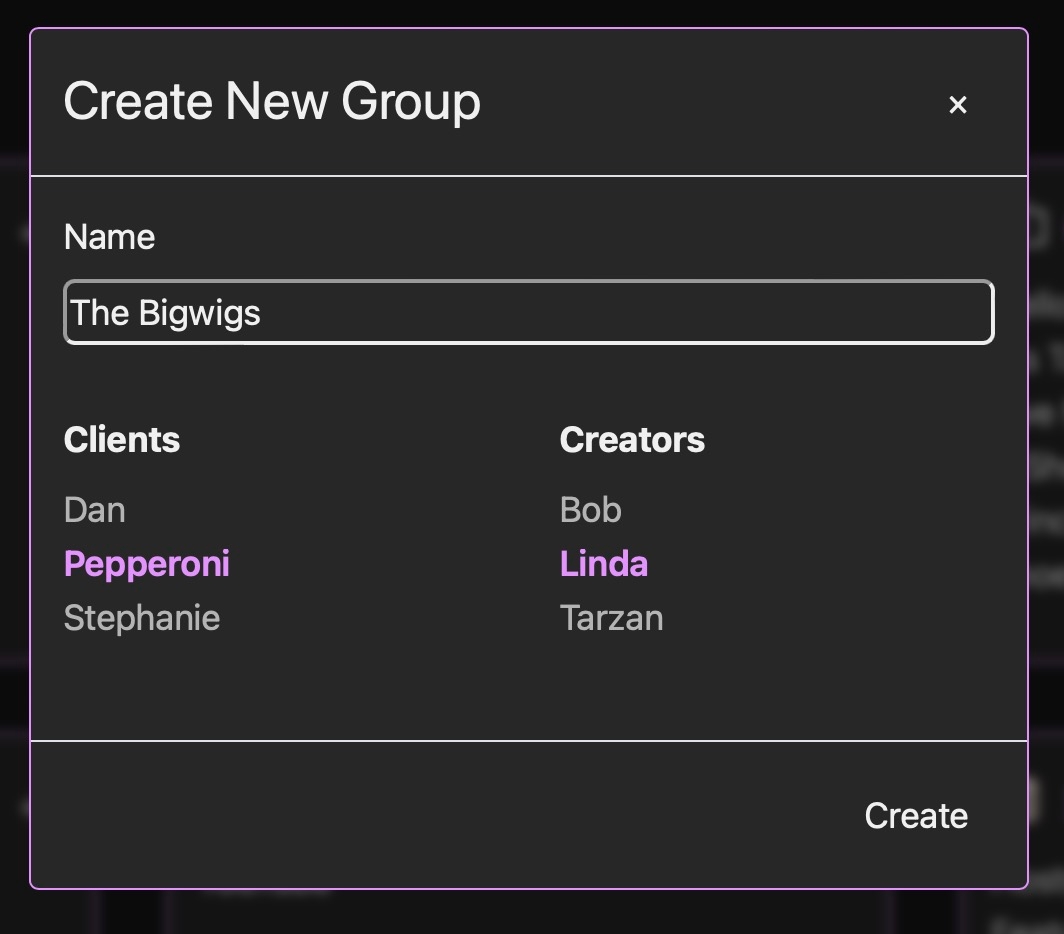
Groups let you easily manage multiple users at a time. Just like an individual user, groups can be granted or denied access to a channel with just a click. Here we are creating a group called "The Bigwigs" which will include Pepperoni and Linda.
2-Factor Authentication
Configure 2-Factor authentication for any user account by clicking the user name at the top of the screen when logged in, then flipping the '2-Factor Authentication' switch:
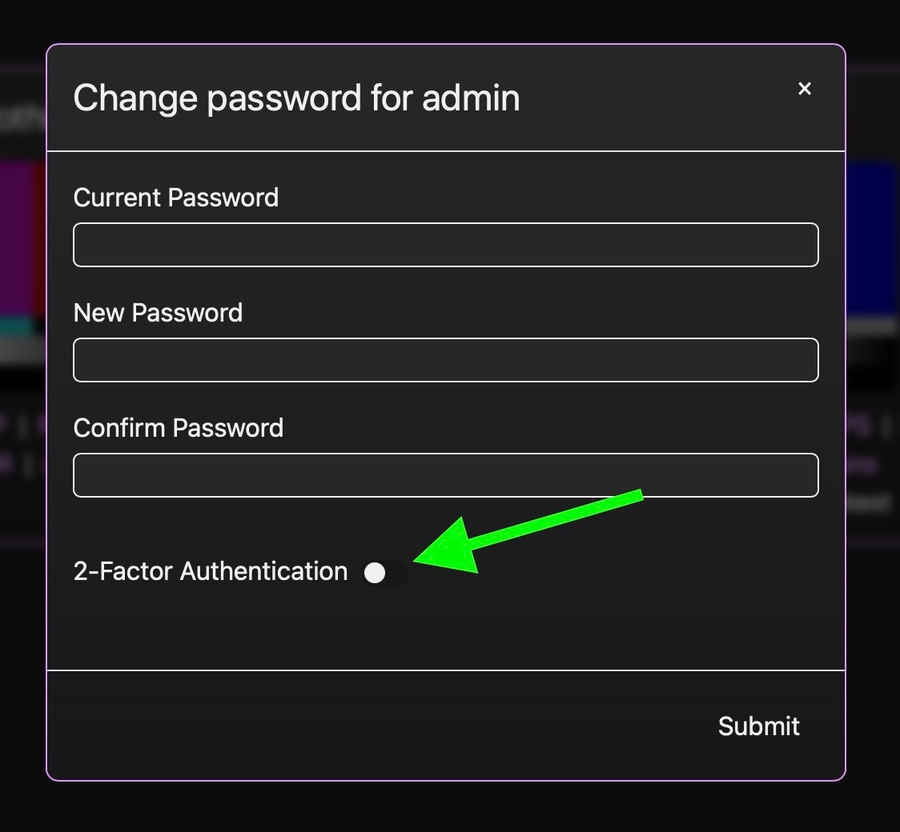
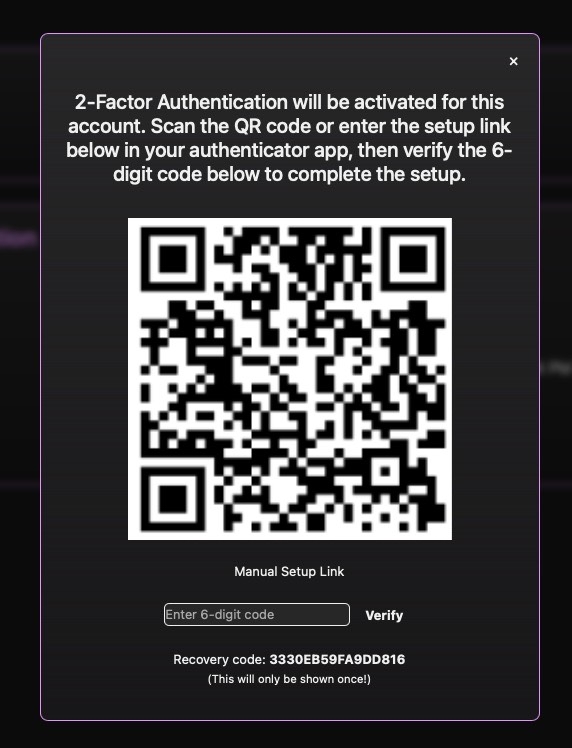
From here, use the QR code or manual setup link to configure your password manager of choice. Verify the code in the box at the bottom to confirm activation. Don't forget to copy the recovery code (click to copy)! Using the code in place of a one-time passcode will disable 2-factor authentication for that account.
Note: 2-factor authentication is not available when using Single Sign-On, since the 3rd party identity provider handles all authentication. Plus, wouldn't that technically make it 3-factor authentication? 🤓