Server Management
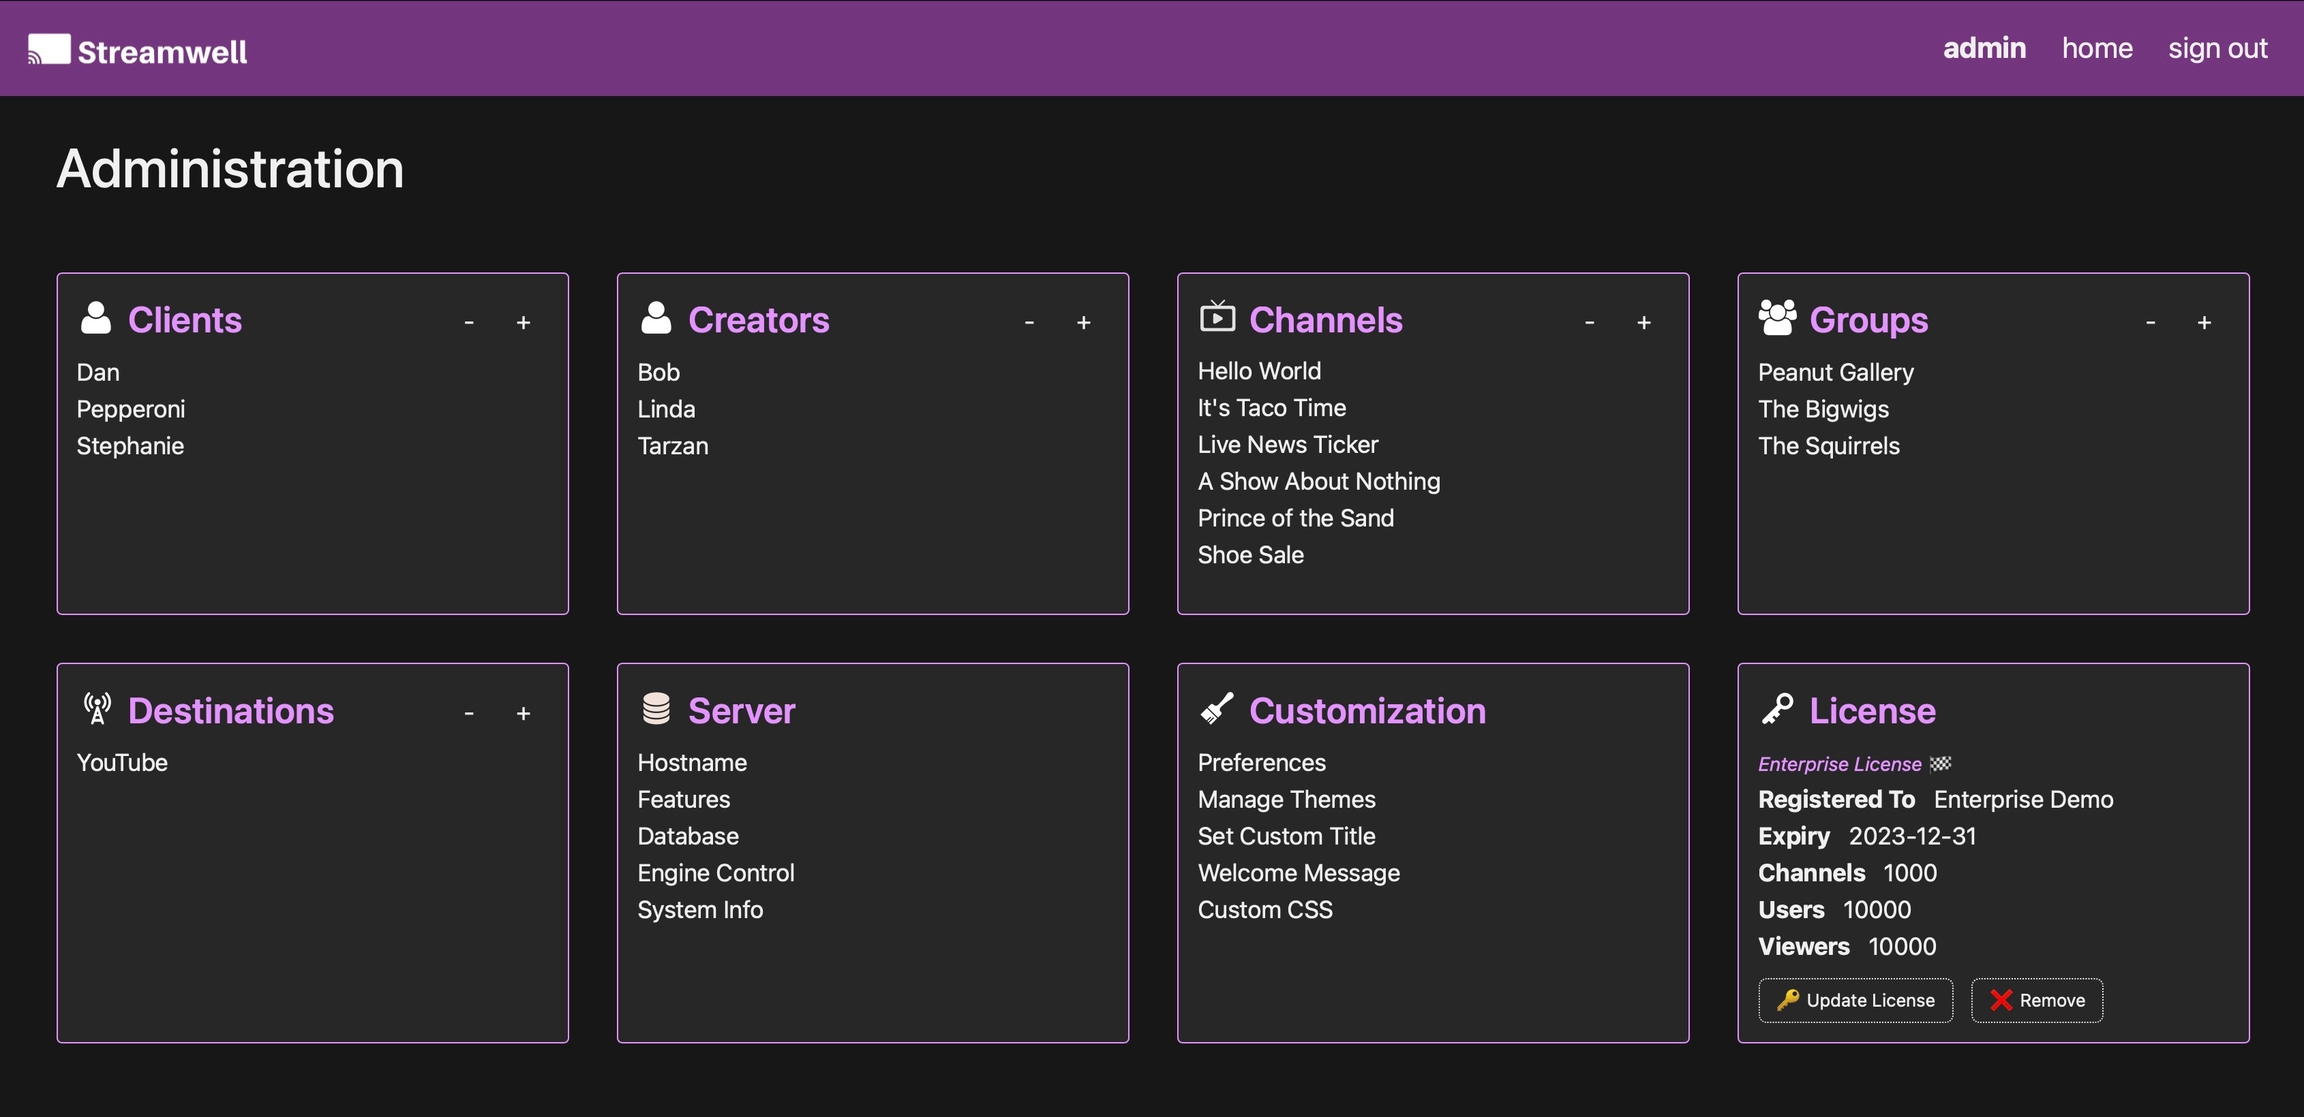
Server Management is available to the top-level 'admin' account or anybody signed in with an admin role. Click 'manage' at the top of the home screen to enter the Administration area, which looks like this:
Hostname
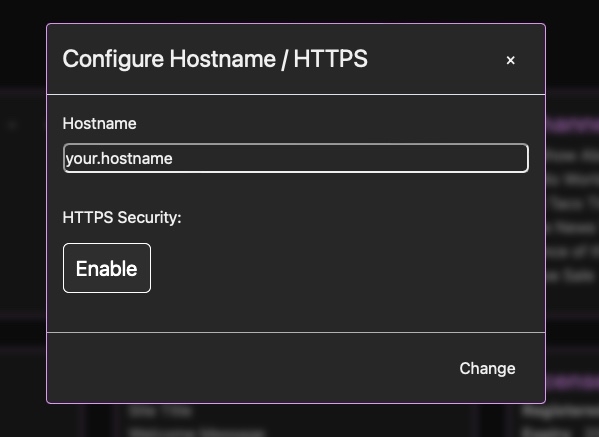
Use this to set the hostname of the server, or to enable HTTPS. You should always access the server by its hostname rather than the internal IP address.
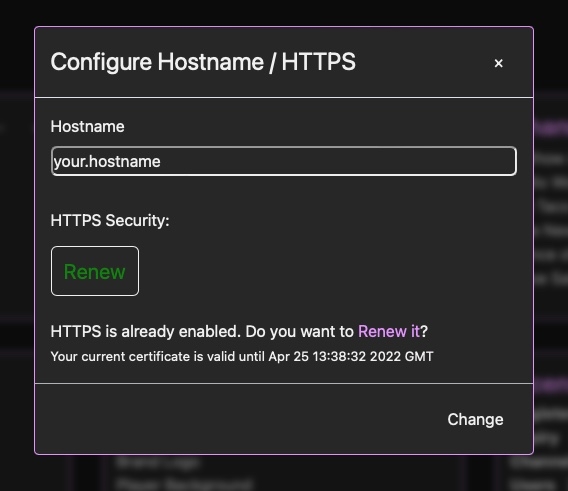
Once HTTPS is activated it will be valid for 90 days at a time. You will receive an automated email from LetsEncrypt when it is time to renew your certificate. To do so, simply come back to this panel and the Enable button will offer you to renew the certificate. When you enable HTTPS, the engine will restart and all streams will be disconnected for up to 30 seconds.
Streamwell will attempt to automatically renew the certificate once issued. However you should still check the validity every 90 days to make sure there wasn't a problem renewing the certificate.
Problems with cert renewals? See Troubleshooting for more.
Features
The features panel is like a big switchboard! Enable just what you need and turn off the features you don't want to see. Select which input and output protocols are allowed - RTMP/RTMPS/SRT/WHIP for inputs, and many options for outputs including whether to default to the low latency player or use HLS, whether to allow external SRT/HLS/embedded playback from external locations, and more. You can also enable Pro features like SSO and Push Notifications, or advanced features like Proxy Playback and Debug Mode as desired.
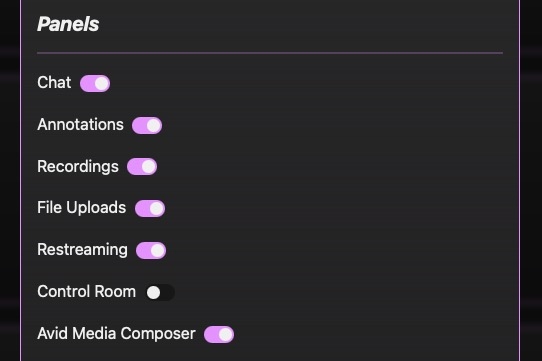
The Panels section lets you choose which collaborative features you want to use in Streamwell. Certain features like Avid Media Composer are only available with an appropriate license.
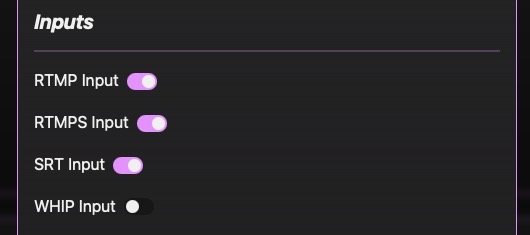
The Inputs section lets you choose which stream protocols the server will accept. Note: RTMPS and WHIP will only function over secure connections.
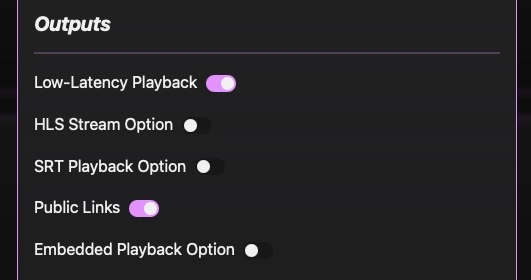
The Outputs section lets you choose how people view streams in (and out of) Streamwell.
Low-Latency Playback - use ultra low-latency WebRTC to provide sub-second latency to viewers. Turn this off to use HLS which is a buffered playback method with 2-3 seconds of latency but better resilience in challenging network conditions.
HLS Stream Option - activate this option to reveal a highly compatible HLS link that can be viewed outside of Streamwell in external players, hardware decoders, or apps like VLC.
SRT Playback Option - creates a second type of public link specificially for SRT playback. Also compatible with many hardware decoders, apps like VLC, and provides lower latency than HLS. If you were using "Remote Playback" in earlier versions of Streamwell, this link is your replacement!
Public Links - uncheck this box to block use of public links, requiring all viewers to log into Streamwell.
Embedded Playback Option - reveals an all-in-one 'Embed Code' that can be easily copy-pasted onto other HTML websites (or editors like Wix, Squarespace) to embed a live stream there.
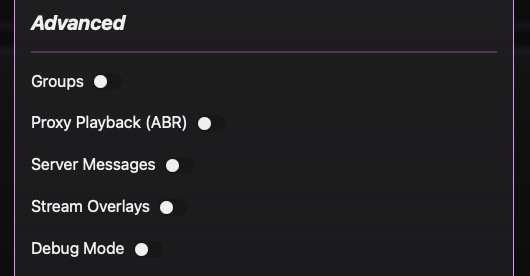
The Advanced section lets you activate extended features such as Groups, Proxy Playback, Server Messages, Stream Overlays, and Debug Mode. Note: when you activate debug mode, the Engine will restart and any live streams will be interrupted.
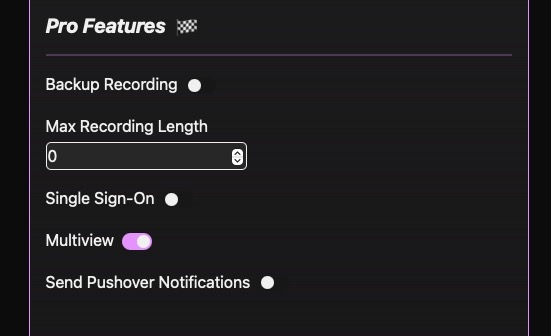
The Pro Features section lets you activate certain Pro Features like Single Sign-On, Multiview, Backup Recording, and Push Notifications. It also lets you set a global maximum length (in minutes) for all recordings, to prevent situations where somebody walks away from a live stream and fills up your entire corporate shared storage!
Preferences
The preferences panel lets you change the look and behaviour of the web interface. You can decide on visual features like live thumbnails on the home screen, watermarking options, the channel sort order, and whether clients see chat/file upload modules or just the stream. You can also set a custom welcome message, shown whenever users log in.
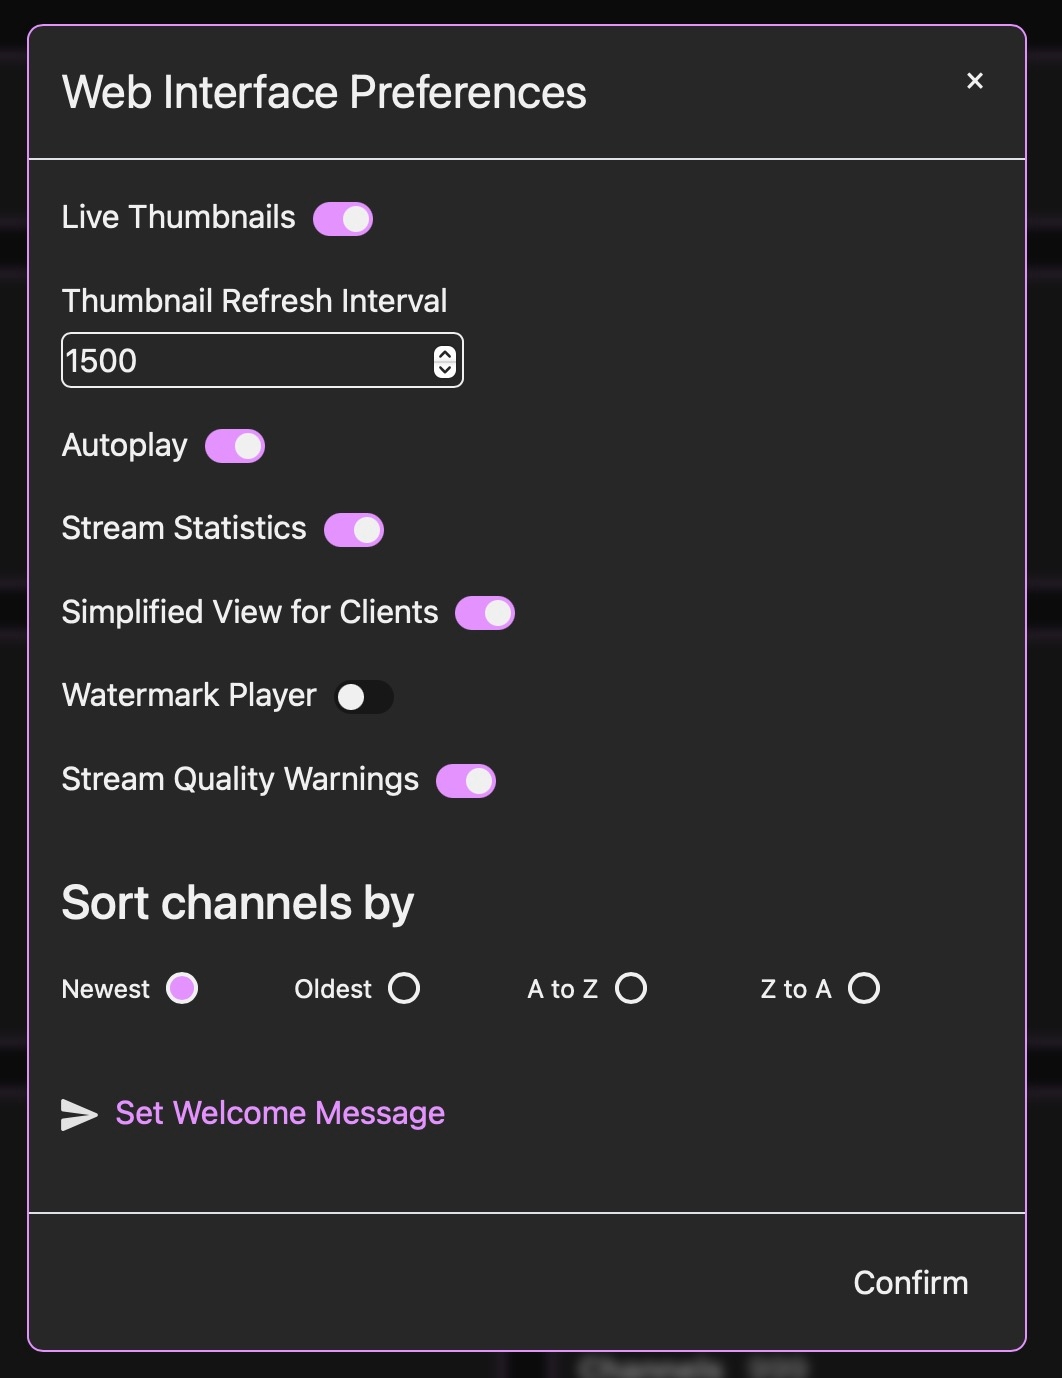
Using Streamwell for Avid Media Composer? Two additional options will appear, related to the behaviour of the Avid panel when a user clicks the "Disconnect Avid" button:

If these options are unchecked, then each Avid editor can set them within their individual 'Avid Options' menus. If they are checked, then the behaviour will be enforced for all Avid editors.
Database
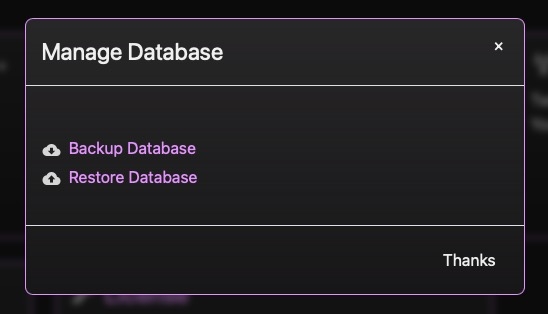
Streamwell uses a SQL database which makes backup and restore very robust. Simply click backup to download a database file, or restore to upload one. If your database is from a previous version of Streamwell, it will be automatically updated like magic.
See How to Update for more information about updating Streamwell, but you should always download a backup before updating.
Engine Control
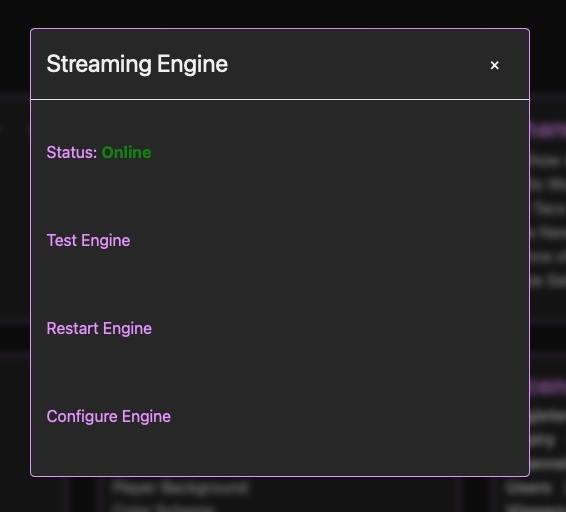
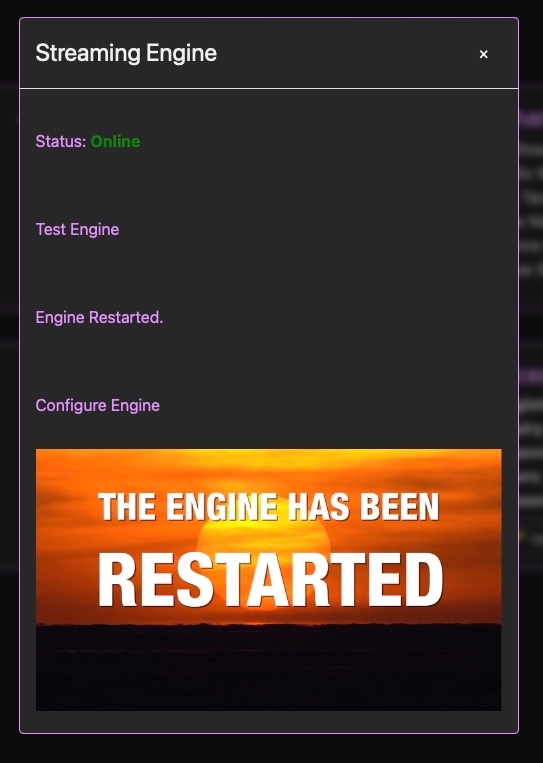
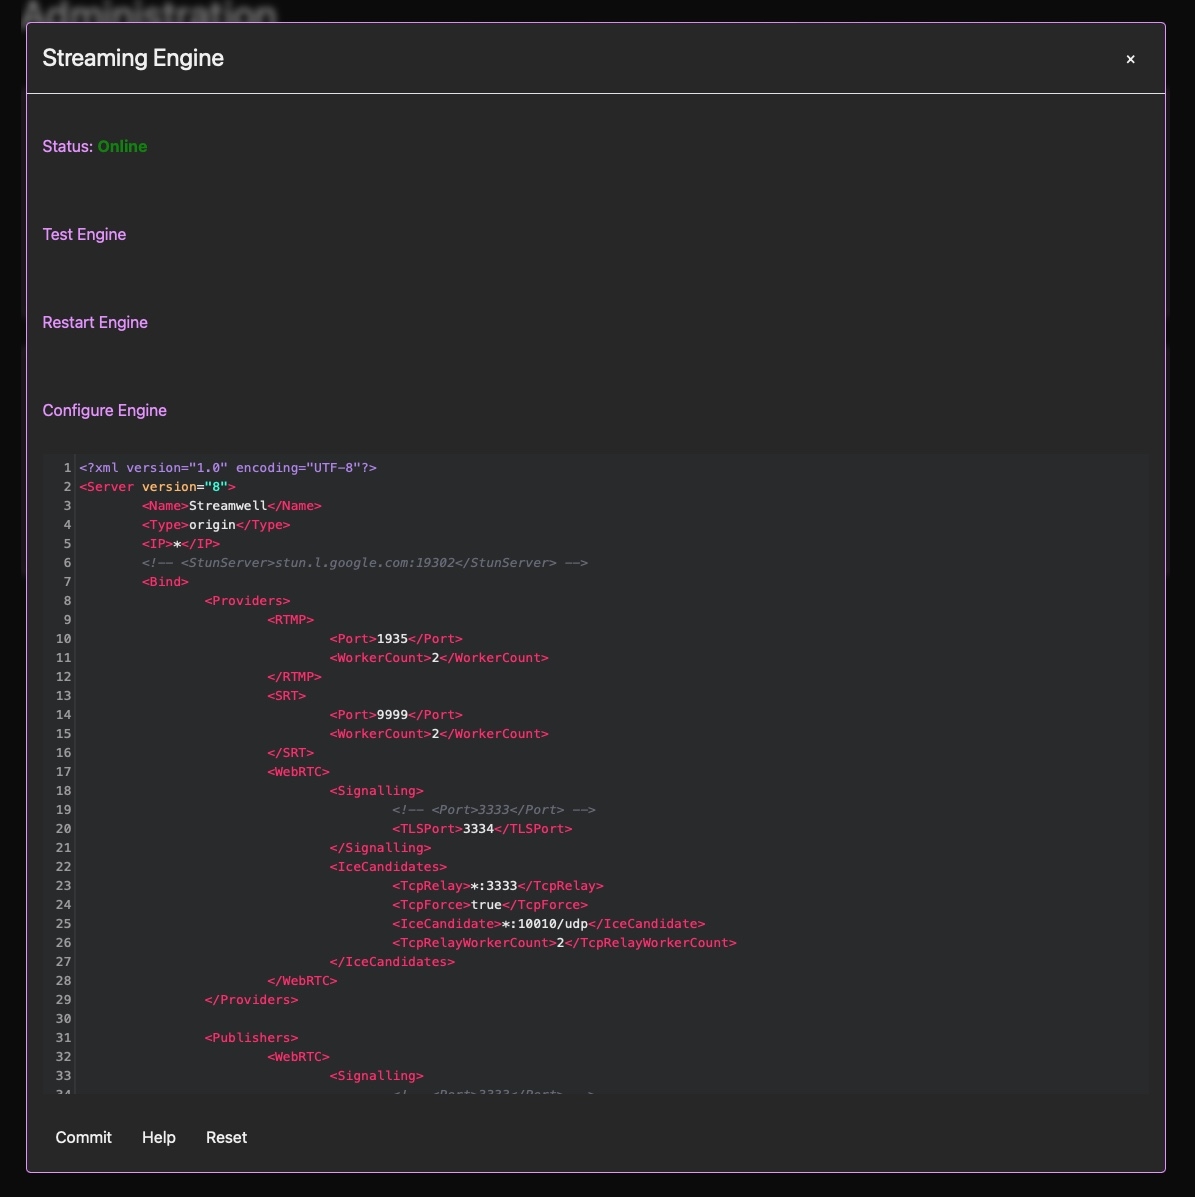
This panel lets you check the status of the streaming engine, as well as testing it, restarting it, and even manually editing the configuration (be careful with the config editor. It's mostly intended for use by support or pro services).
Restarting, then testing the engine is usually the best first troubleshooting step if anything is misbehaving. For anything more, contact support!
System Logs
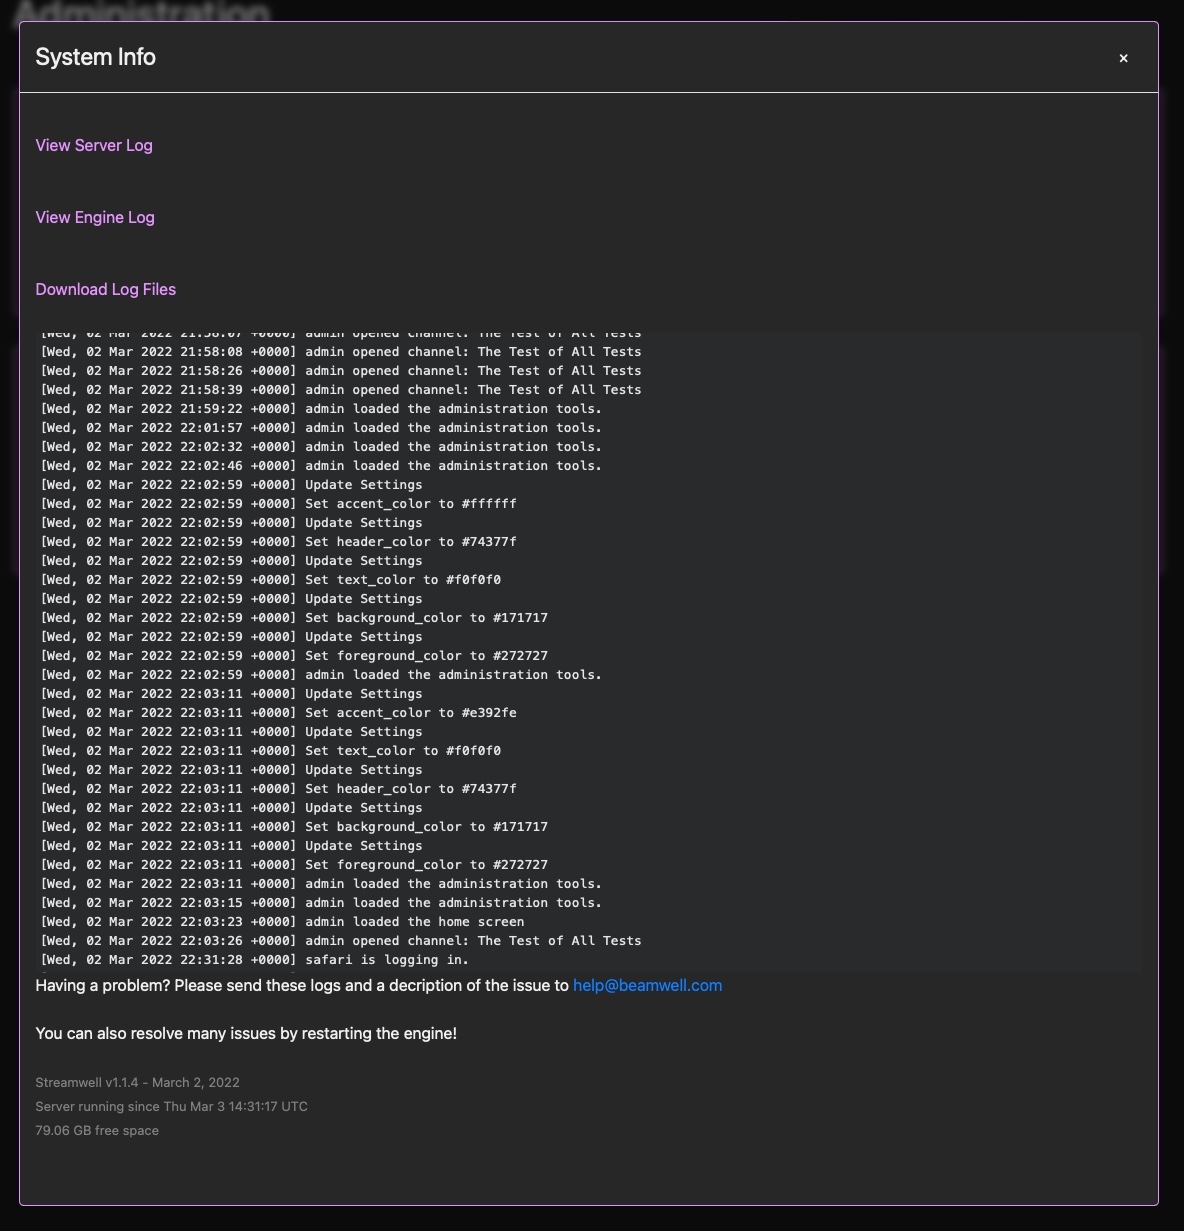
An easy way to view the Server and Engine logs in the browser, or download them if you need to send them to support. You can also see how long the server has been running, which version is installed and how much disk space is left on the system drive.
Stream Overlays
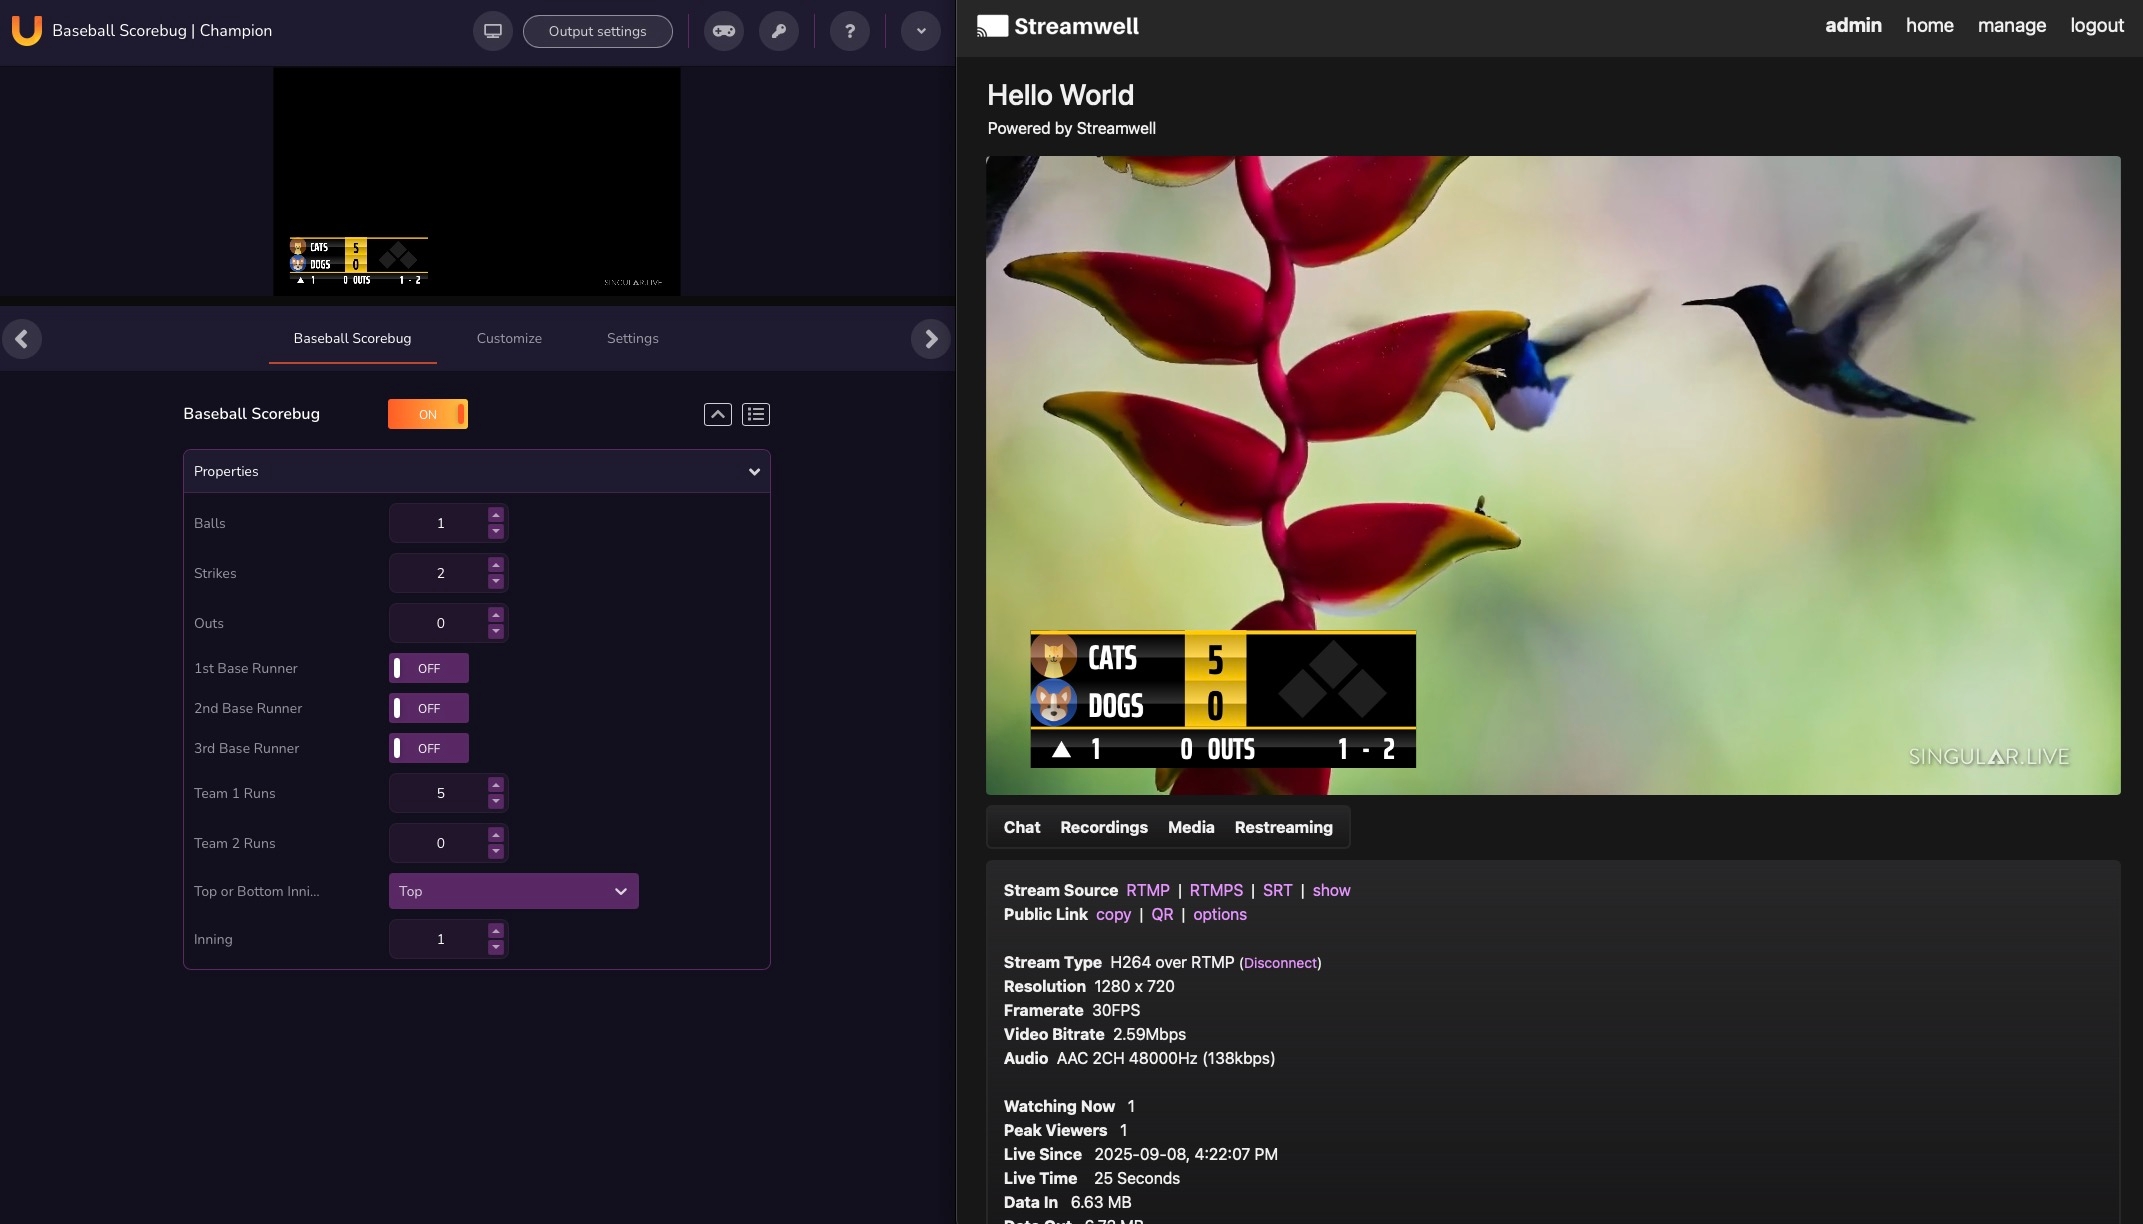
With this feature turned on, you can add an 'Overlay URL' to a channel:

This lets you embed additional graphics or info right on top of the Streamwell player, from a live graphics service like singular.live. Check 'interactive overlay' to make the contents of the overlay clickable. You could even use this to place a third-party video player into Streamwell!
Custom Themes
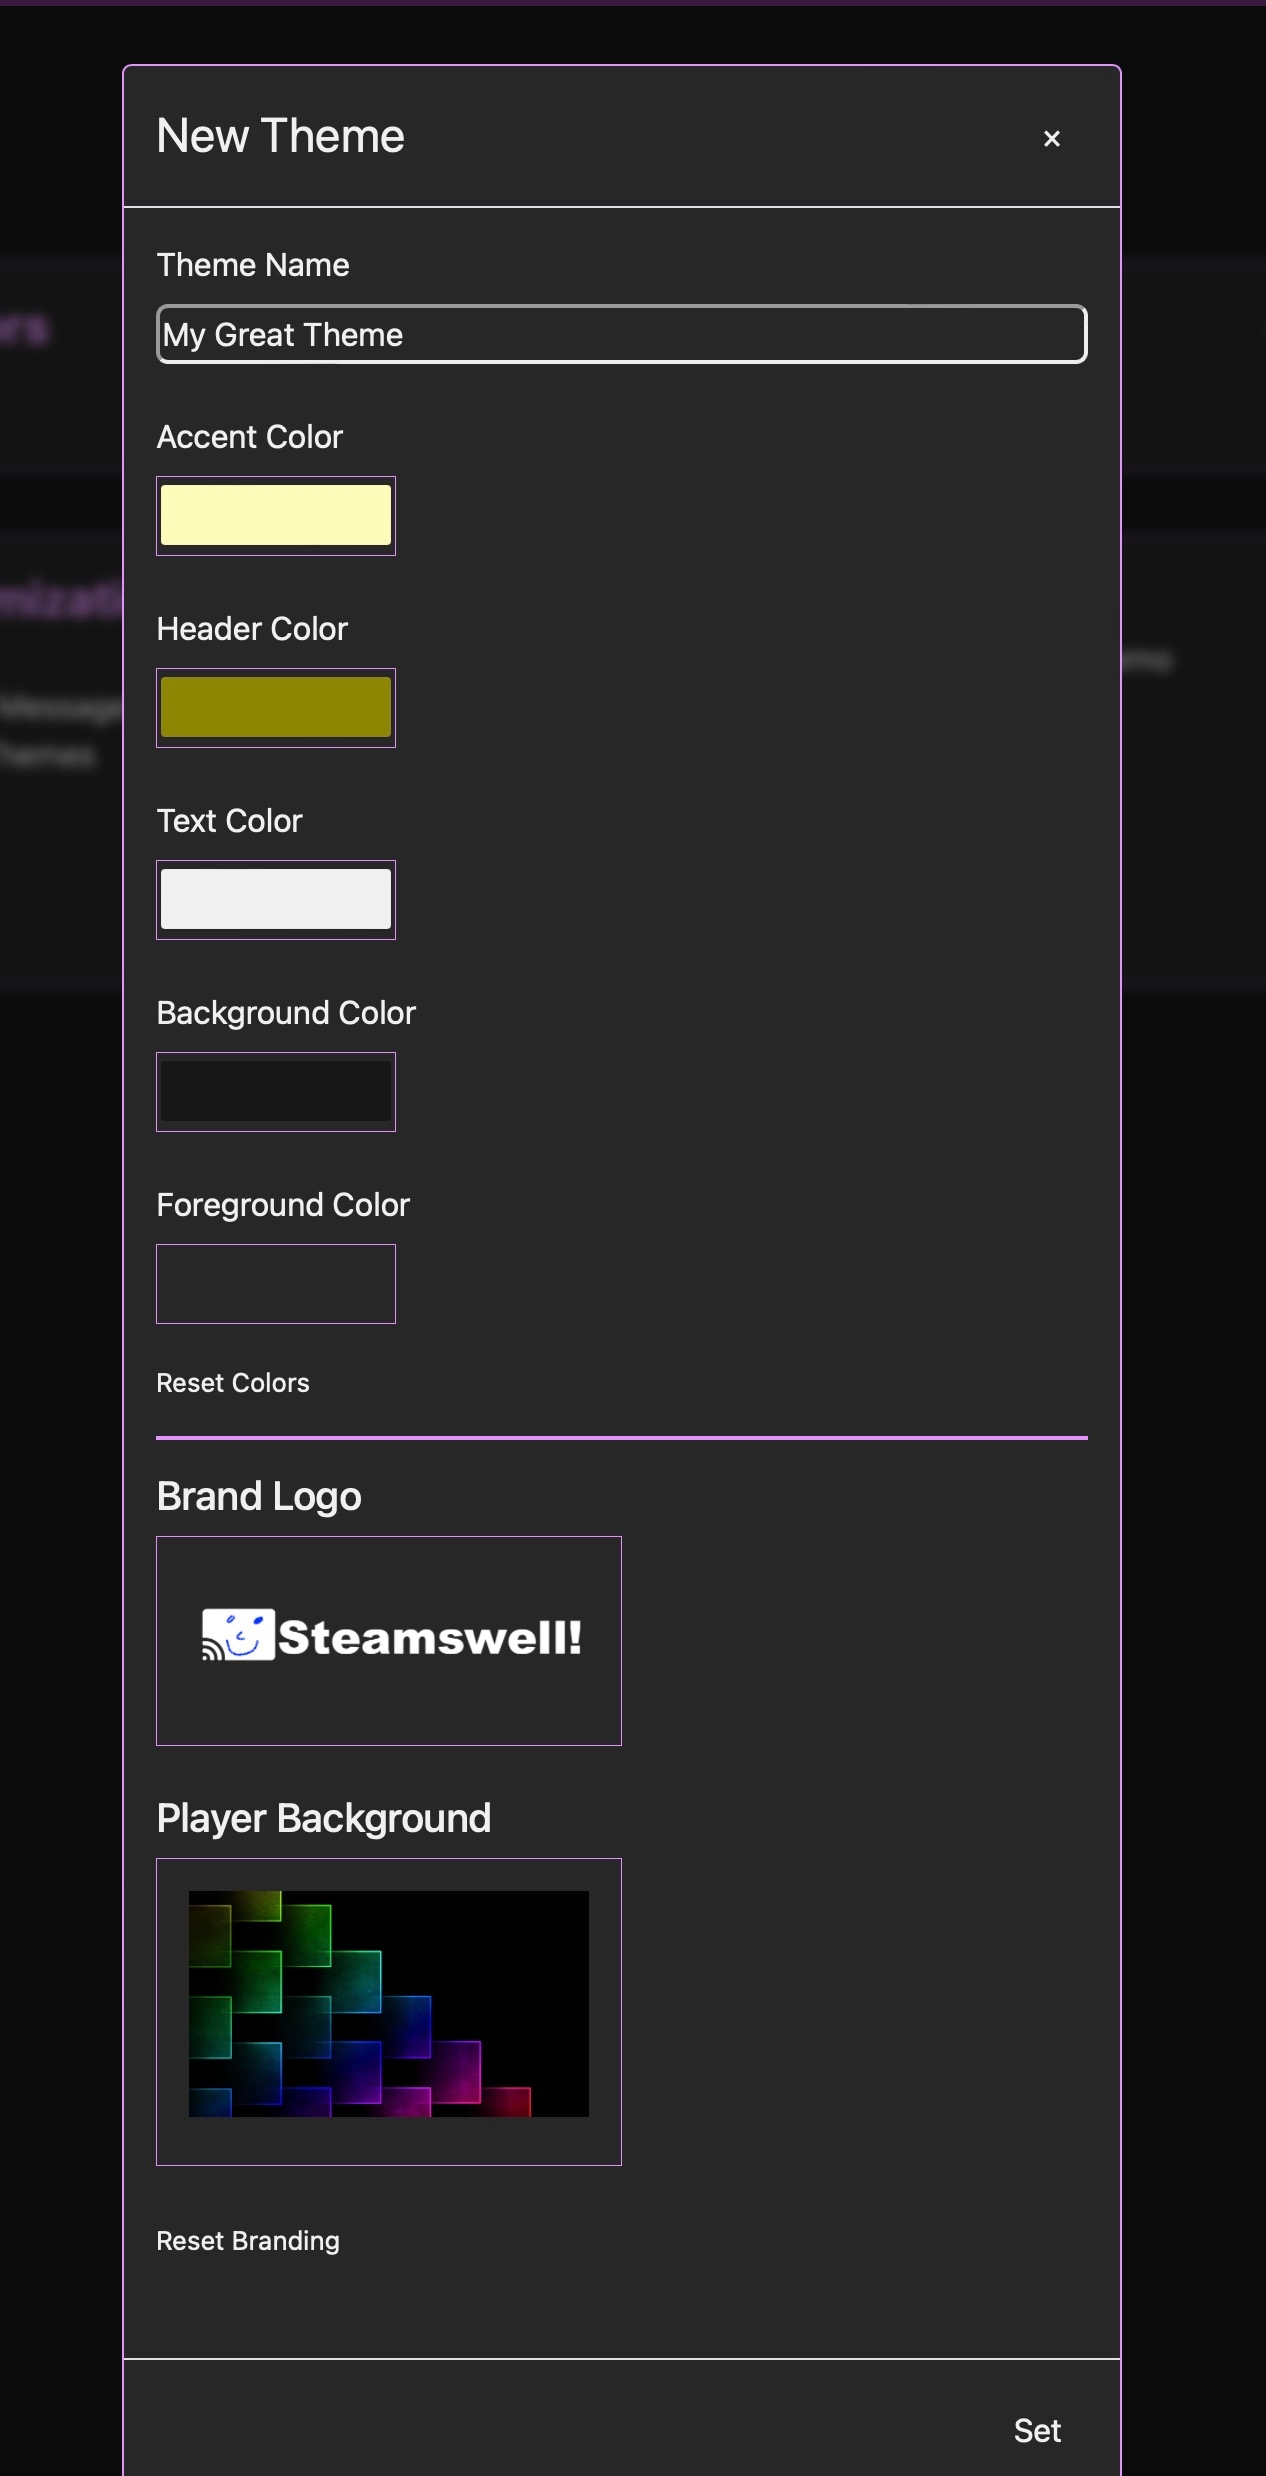
Themes allow you to set a different look and feel for each channel individually. Choose 'Manage Themes' to change either the default (system) theme or create new themes for use across channels of your choosing. When creating or editing a channel you can then switch the theme as needed. Note that logo files must be PNG images and backgrounds must be JPG images, with a maximum size of 500KB each - remember, people will be loading these images when they visit your Streamwell server so smaller is always better!
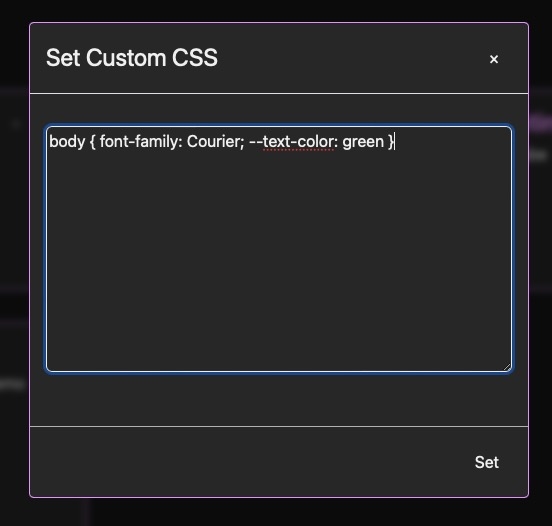
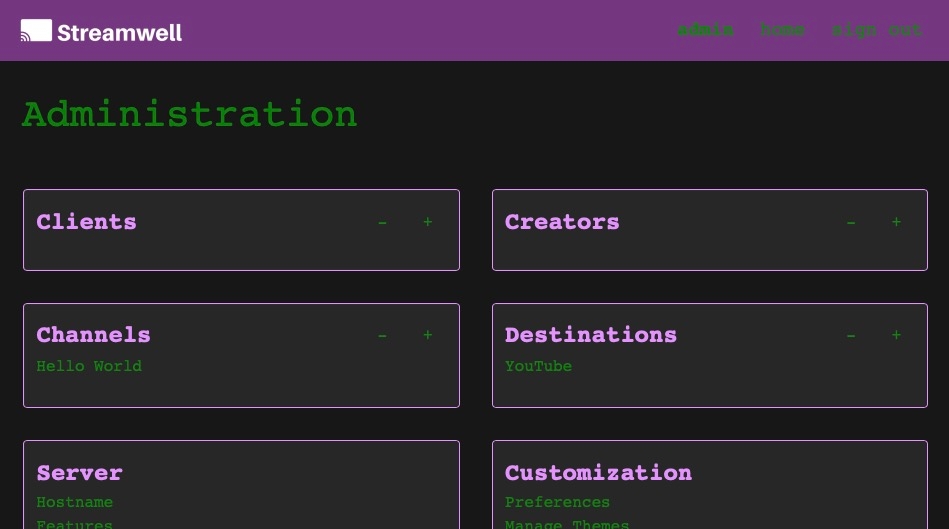
Custom CSS
Provide your own custom CSS which loads after the main 'streamwell.css'. You can also use the following CSS variables to override theme preferences: --text-color, --accent-color, --header-color, --background-color, --foreground-color
Other Customizations
The customization section allows you to change certain characteristics about the application. to represent yourself or your brand:
Set Custom Title - The name at the top of the browser window and in rich link previews (e.g. “My Studio”). This is also where you can enter special Cheat Codes if instructed by support. There are some easter eggs here too. Think of a famous wampa-related cheat code on N64, your favourite archeologist, or the name of a strange vehicle at a chocolate factory...
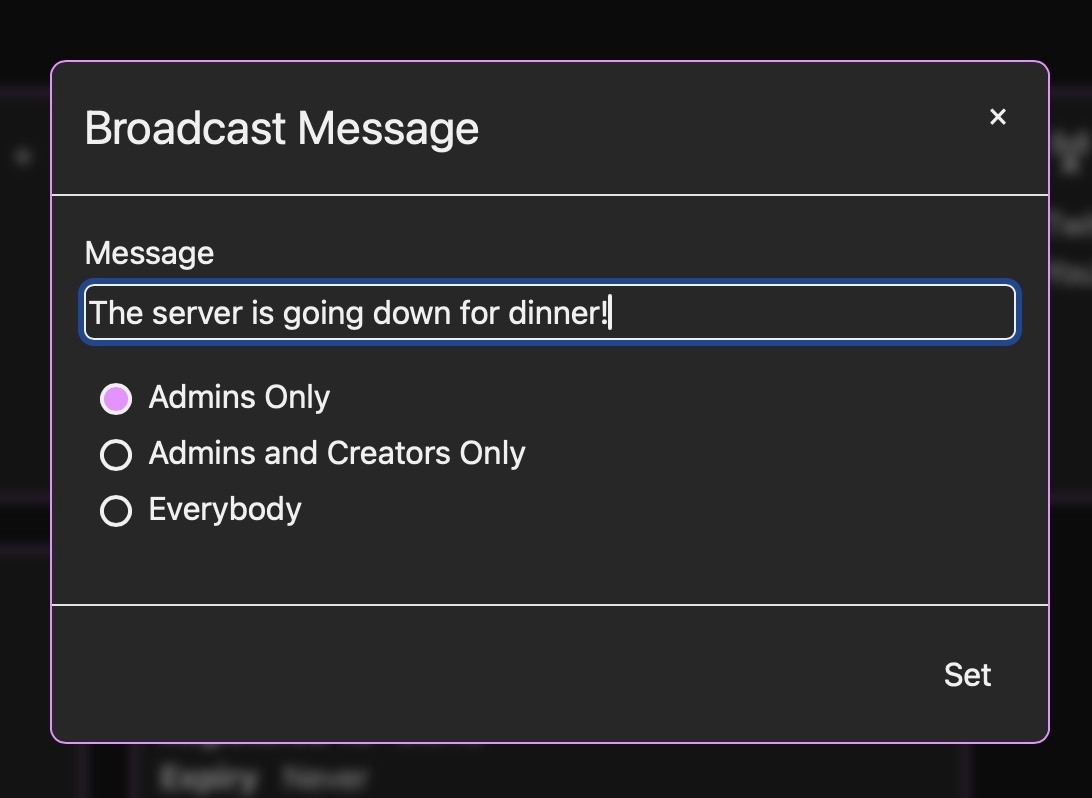
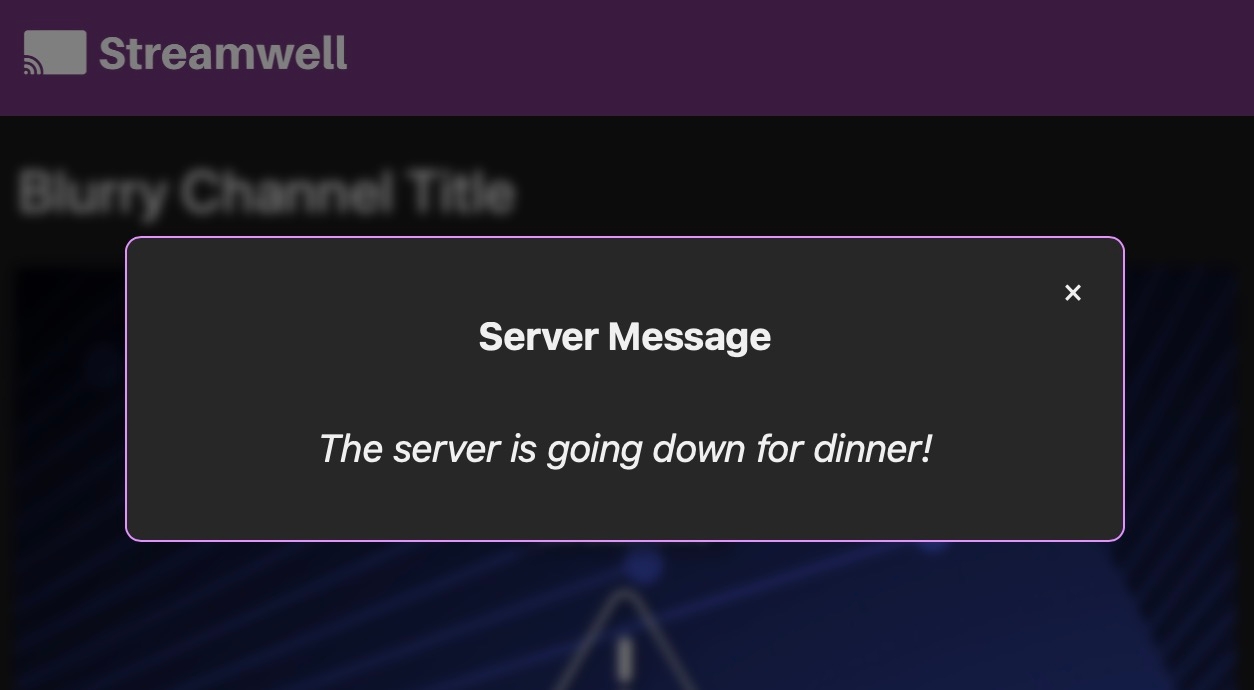
Broadcast Message - send an instant pop-up message to everybody on the server, or just Admins/Creators only. Handy if you need to make a company-wide announcement. (This uses the "Server Messages" feature which is off by default.)
Last updated